This Website uses third-party cookies, which are owned by a person or organization other than KATIA from which KATIA has contracted a service to monitor and improve the services offered on its Website. This third party processes the data gathered by its cookies.


How to knit a bandeau headband step by step
February 15, 2023
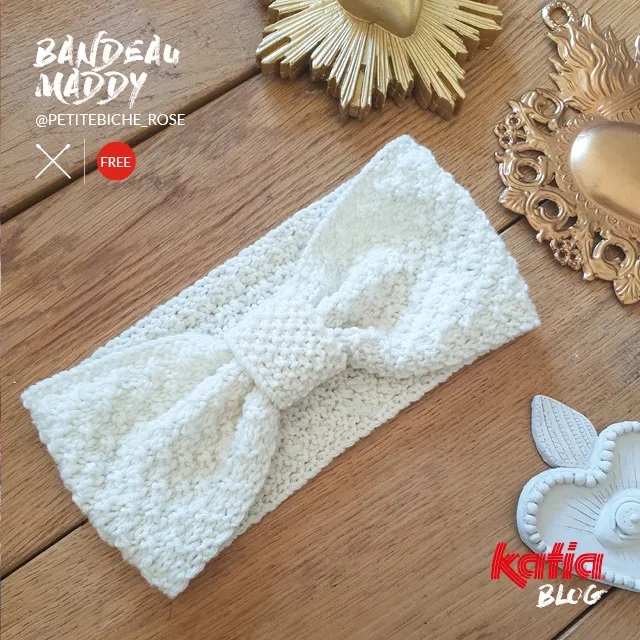
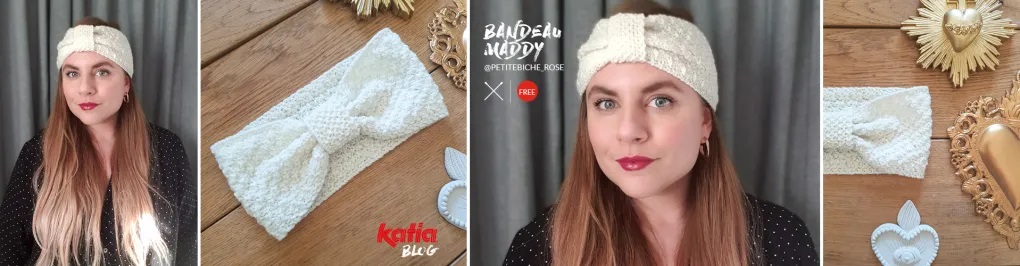
Learn to make your own bandeau headband with this free pattern and tutorial from @petitebiche_rose
02/15/2023
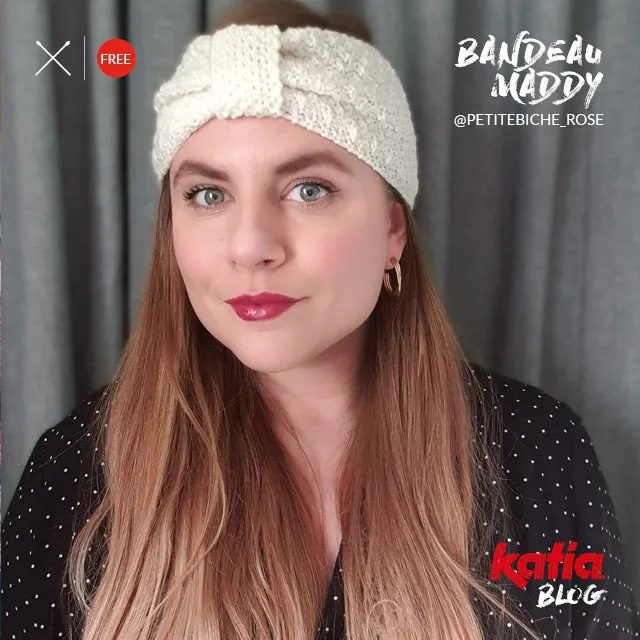
These bandeau headbands, sometimes also called turban headbands, have fast-become an accessory staple. They add a touch of boho-chic to any outfit and, despite the fact they’re knitted, they’re not only for the colder seasons.
This design, named Maddy, is by passionate crafter Laura – or Petite Biche Rose as she’s known online. She’s a lover of crochet, knitting, and creating her own DIY kits and patterns. Discover her beautiful, timeless designs in her shop, on her Instagram page, and in her book Point par Point. She also sells her items along with embroidery accessories in her online shop.
Follow Petite Biche Rose’s free pattern and our videos below to make your vintage-inspired headband.
Recommendations and useful information for your knitting project
- This pattern is one size. The band is 10 cm wide and the circumference is between 55 and 58 cm
- This project is beginner level
- The yarn used in this tutorial is Merino 100% (this is the recommended yarn)
- You only need one ball of yarn to make this headband
Abbreviations
- k – knit
- k2tog – knit 2 stitches together
- p – purl
- R and r(s) – row(s)
- rep – repeat
- sl – slip
- st(s) – stitch(es)
- yo – yarn over
The materials you need to complete this project
- 1 ball of Merino 100% in any colour of your choice
- 4.5-mm knitting needles
- Tapestry needle
- Tape measure
- Scissors
Stitches and techniques
Use these videos to learn and familiarise yourself with the different stitches and techniques you’ll need for this design
Cast-on
Bind-off
Yarn over on the right side
Moss stitch (alternate knit 1 and purl 1 until the end of the row. On the next row, purl the knits and knit the purls).
Seaming
Gauge
With 4.5-mm needles instockinette stitch: 16 sts and 24 rows = 10 x 10 cm or 4×4”
Things to know before you get started
- Knit two bands flat, making one longer and one shorter one.
- In bolt there are instructions on how to work the fantasy stitch across 4 rows with moss stitch edges for a nicer selvedge/to prevent ravelling
- Start each row by slipping one stitch knitwise.
- Finish each row with 1 knit stitch.
How to knit the longer band
- Cast on 28 sts.
- Setup row (for easier seaming at the end): sl1, p25, k1.
- Rep the next 4 rows until piece measures 44 cm long:
- R1: sl1, p1, k1, k22, k1, p1, k1.
- R2: sl1, p1, k1, *k2, yo, k2, pass yo over last 2 knit sts,* rep ** 5 times, k1, p1, k1.
- R3: rep R1
- R4: sl1, p1, k1, *yo, k2, pass yo over last 2 knit sts, p2* rep ** 5 times, yo, k2, pass yo over the last 2 knit sts, k1, p1, k1.
- End on a R4 and bind off all sts.
How to knit the smaller band
- Cast on 13 sts.
- Setup row: sl1, p11, k1.
- Next, rep the next row until piece measures 9 cm long:
- sl1, *p1, k1*, rep ** 5 times, p1, k1.
- Bind off all stitches.
Finishing your bandeau headband
- Seam the ends of the long band together to make the headband.
- Place the small band around the seam to hide it.
- Seam the ends of the small band together to achieve a front knot.
Top tip: carefully wash and block the headband to soften the yarn and even out and define the stitches.
And there you have it… Your own Maddy headband, ready to wear!
Validate your login
Sign In
Create New Account