This Website uses third-party cookies, which are owned by a person or organization other than KATIA from which KATIA has contracted a service to monitor and improve the services offered on its Website. This third party processes the data gathered by its cookies.
How to Crochet a Love Cushion for Beginners
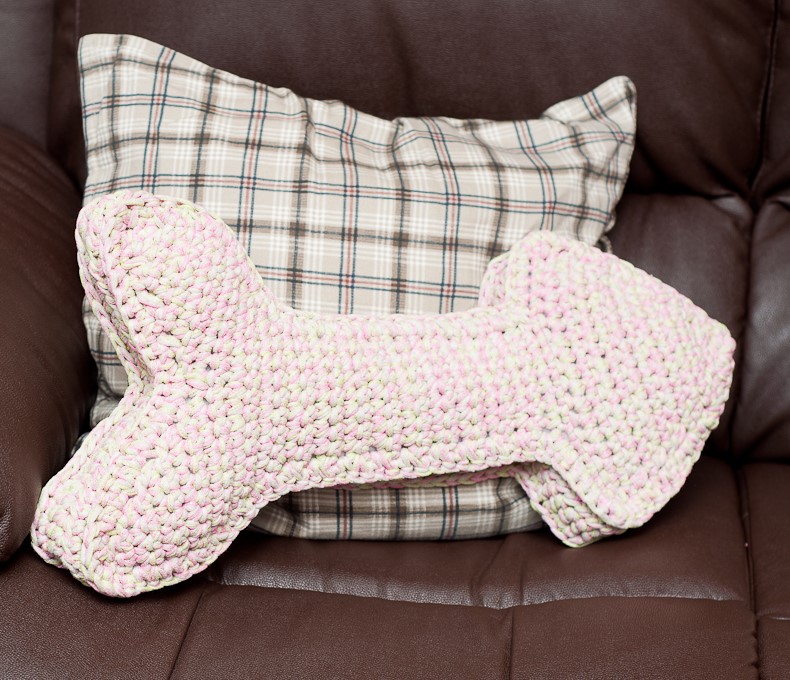
Learn how to make this fun love arrow this Valentine’s Day
02/10/2023
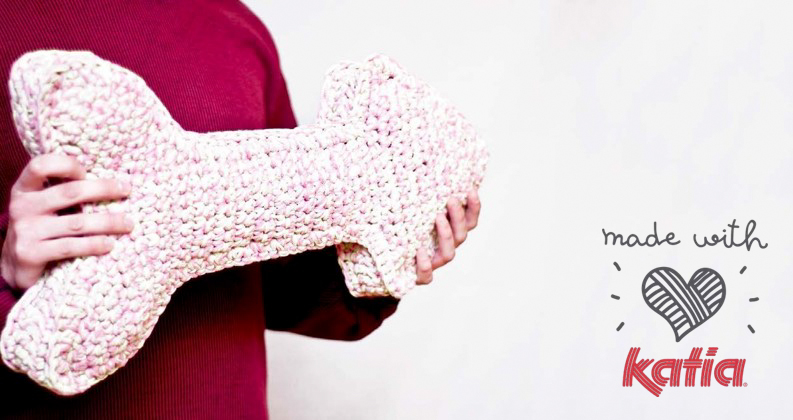
Love Arrow
Add this cute arrow pillow to your sofa or bed. The pattern is beginner-friendly and uses Katia Big Ribbon yarn and easy stitches. It’s great for any skill level and you’ll have have a new cushion in no time.
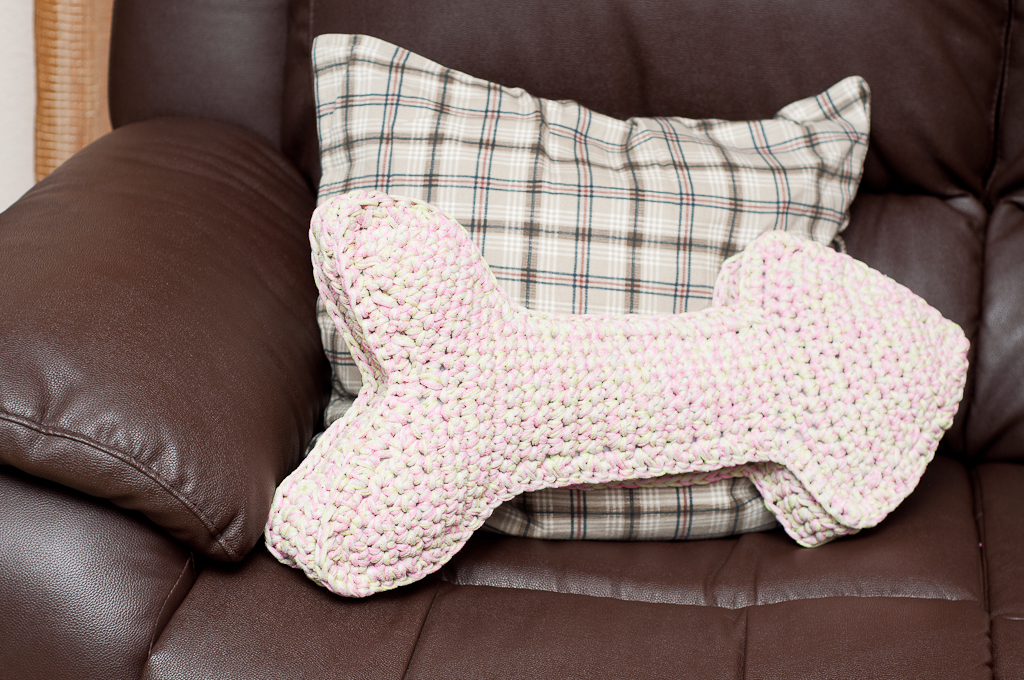
Crocheted Love Arrow
Materials. 3 balls of Katia Big Ribbon color (4), crochet hook size L/11 (8 mm), tapestry needle, fiberfill
Abbreviations
- sl st: slip stitch
- sc: single crochet
- R: Row
- hdc: half double crochet
- sc2tog: single crochet 2 together
- inc: Increase = work 2 Sc in the same stitch
Measurement.
Notes
- Pattern is written in US terms
- Arrow is worked in pieces and then crocheted together
- Make tip(s) first, then work the body into stitches from the tip.
Arrow Tip (make 2)
Chain 21,
R1: sc in 2nd chain from hook, sc in each ch across, turn. (20 sc)
R2: sc2tog, sc in each ch across, turn. (19 sc)
R3-R10: ch 1, sc2tog, sc across, turn. (11 sc at end of R10)
R11: ch 1, sc2tog, sc across to last 2 sts, sc2tog, turn. (9 sc)
R12-R14: ch 1, sc2tog, sc across to last 2 sts, sc2tog, turn. (3 sc at end of R14)
R15: ch 1, sc2tog, sc across, turn. (2 sc)
R16: ch 1, sc2tog. (1 sc)
Fasten off.
Arrow Body (make 2)
The body of the arrow is worked into the widest part of the tip (Row 1).
R1: join with sc in 7th st from edge of arrow (working into row 1), sc in next 7 sc, turn. (8 sc)
R2-R17: 1, sc in each st across, turn. (8 sc)
R18: ch 1, inc, sc across to last 2 sts, inc, turn. (10 sc)
R19-R23: Repeat Row 18. (20 sc at end of R23)
Fasten off.
Arrow Tail Section (make 4)
The tail is worked into the end of the arrow’s body section. Each body section has 2 tails, the bases of which go from one end to the center, covering 10 sts. The wrong side of the first row should end up facing towards you, so that the join isn’t noticeable.
R1: join with sc to first outside stitch at end of arrow body, sc in next 6 sts, sc2tog, turn. (9 sc)
R2: ch 1, sc in each st across to last 2 sts, sc2tog, turn. (8 sc)
R2-R8: ch 1, sc in each st across to last 2 sts, sc2tog, turn. (2 sc at end of R8)
R9: sc2tog. (1 sc)
Fasten off.
Repeat for other side of same arrow body.
Then repeat for 2nd arrow body.
Joining Strip
Chain 137,
R1: hdc in 3rd ch from hook (skipped 2 chs count as hdc ), hdc in each ch across, turn. (136 hdc)
R2: ch 1, hdc in each st across. (136 sc)
Fasten off.
Assembly
- Match one edge of the joining strip to one of the arrows, work sc through both pieces along the perimeter. Work inc at the corners. Fasten off.
- Sew beginning and end of the joining strip together.
- Match the other edge of the joining strip to the 2nd arrow and repeat step 1. Add fiberfill before completing the join.
Fasten off.
Share your Love Arrow on Instagram with the Hashtags
#MadeWithKatia and #KatiaYarns
And don’t forget to make our Heart Cushion to go with it for a matching set.


Validate your login
Sign In
Create New Account